|
If you have a propagation unit, with or without bottom heat, you must continually watch the humidity of the surrounding air so that your cuttings do not dry out.
Here is a method that takes a little time at first, but will make you a winner in the long run. Its principle is the same as that of the plastic bottles used in the file, #59 => See or review.
That is to say that the cuttings are under cover.
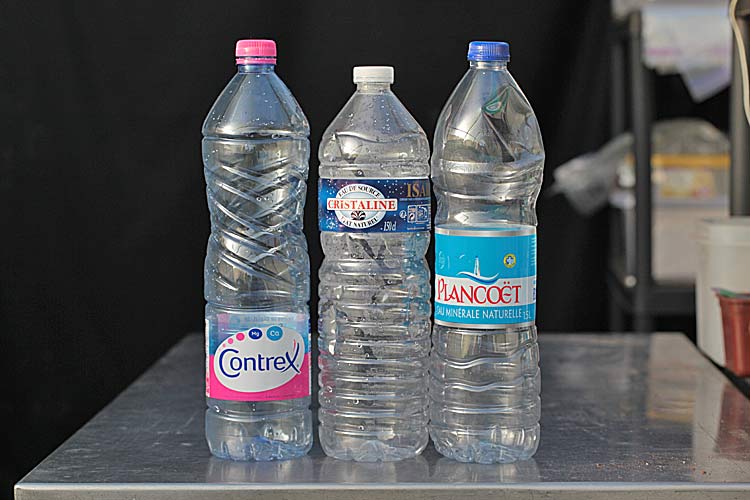
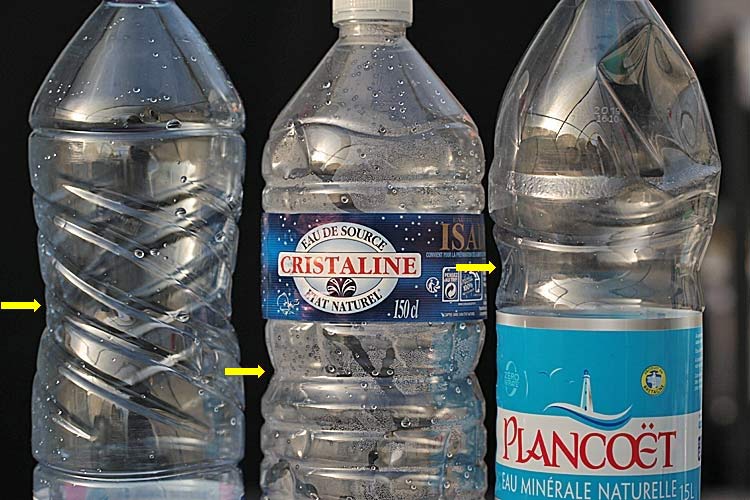
Bottles generally have a narrow section to allow a better grip. Depending on the bottle size and brand, the narrow section is more or less pronounced.
The "game here" consists of cutting two similar, but different bottles, keeping only the two parts that will fit together as closely as possible.
|
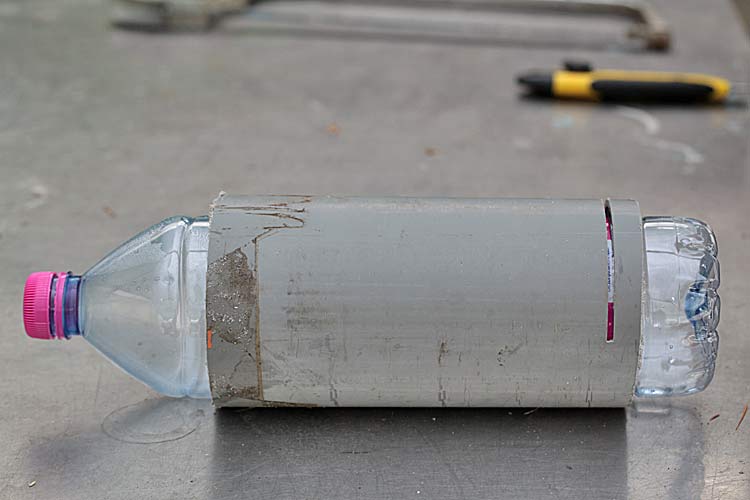
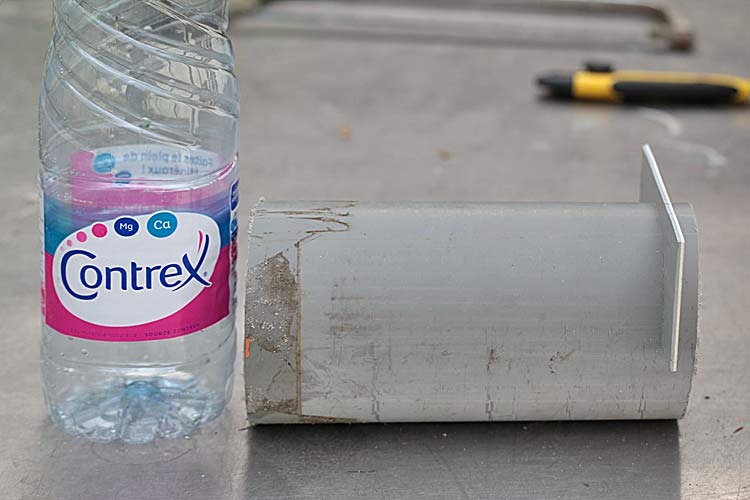
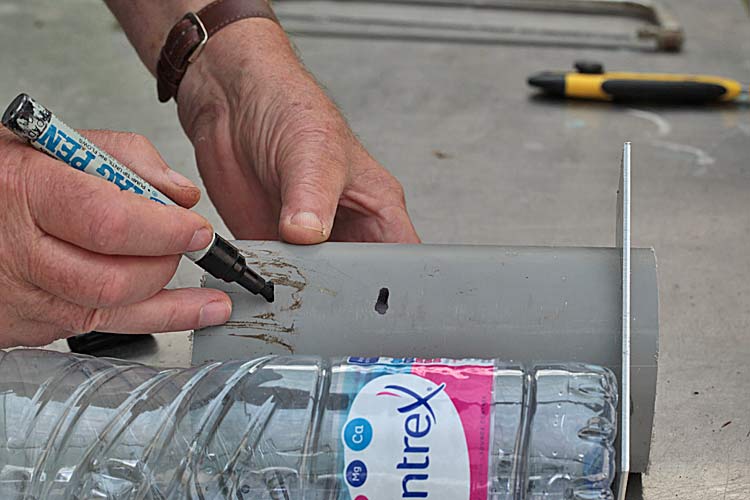
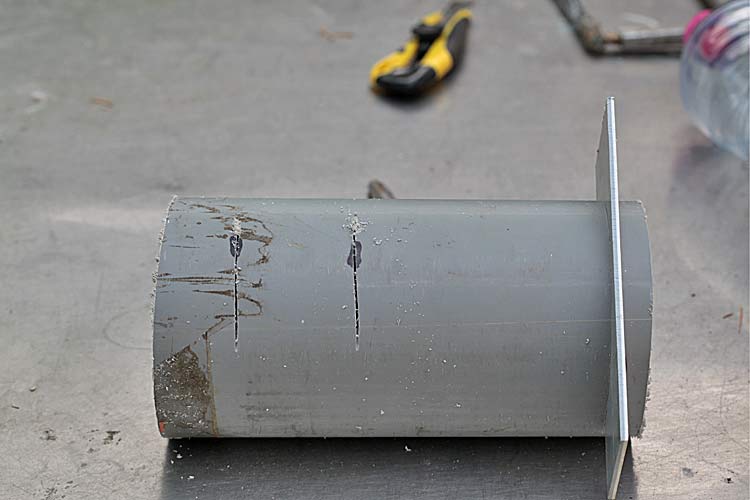
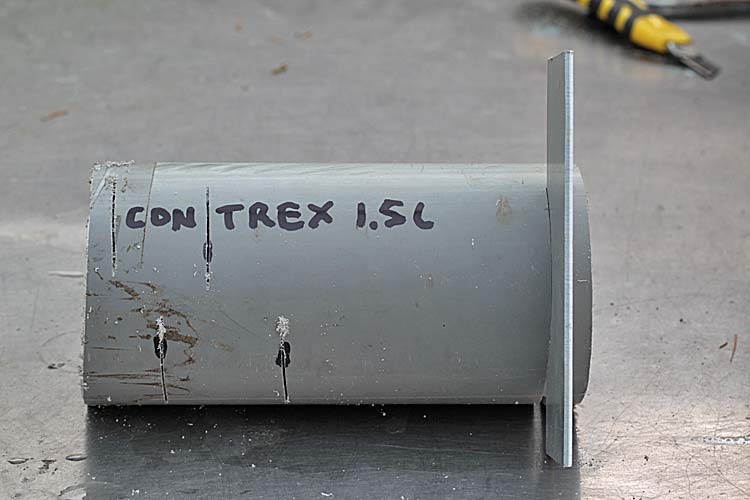
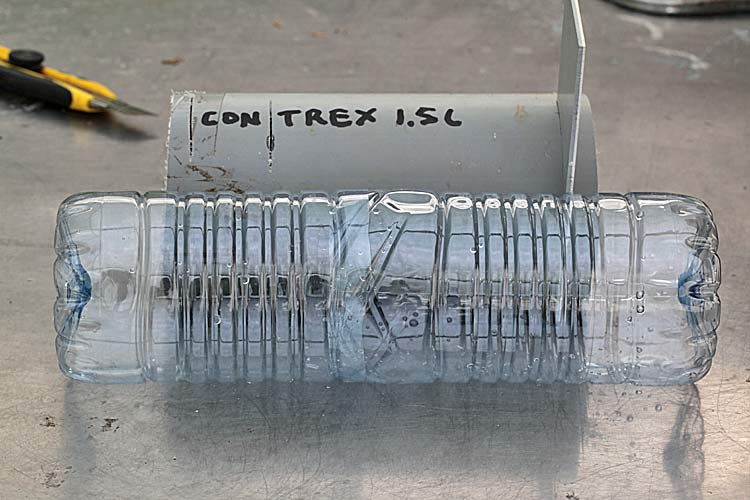
In order to safely cut a plastic bottle without meeting any great resistance, I use a piece of plastic pipe closed at one end to serve as a stop.
Using a hacksaw, I make notches at different places corresponding with the narrow sections of different bottles.
|
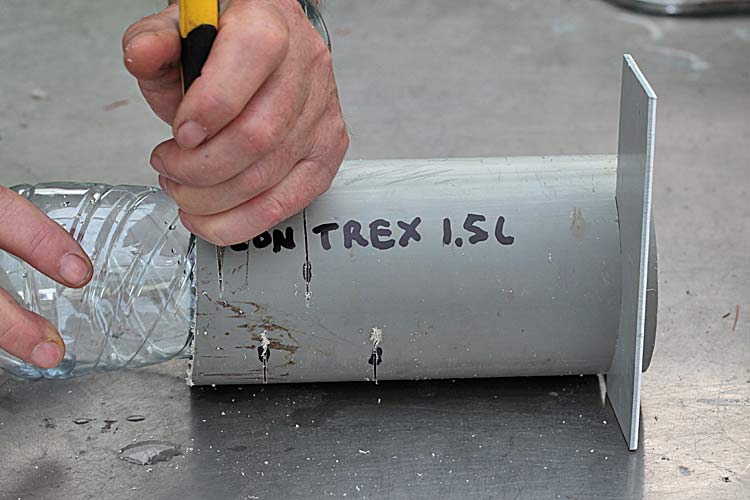
Use one hand to turn the bottle while holding it against the bottom of the pipe, use the other hand to cut the bottle at the chosen spot.
|
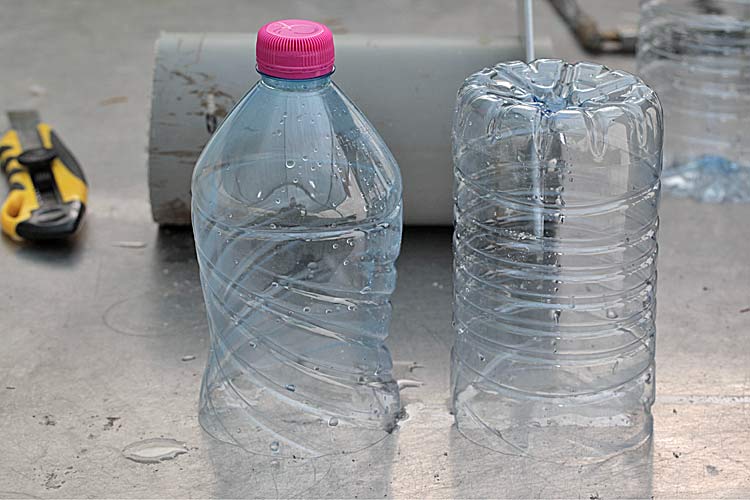
The cylindrical part of this bottle (on the right) will be kept. It will serve as the bottom and will be filled with the cutting mixture.
|
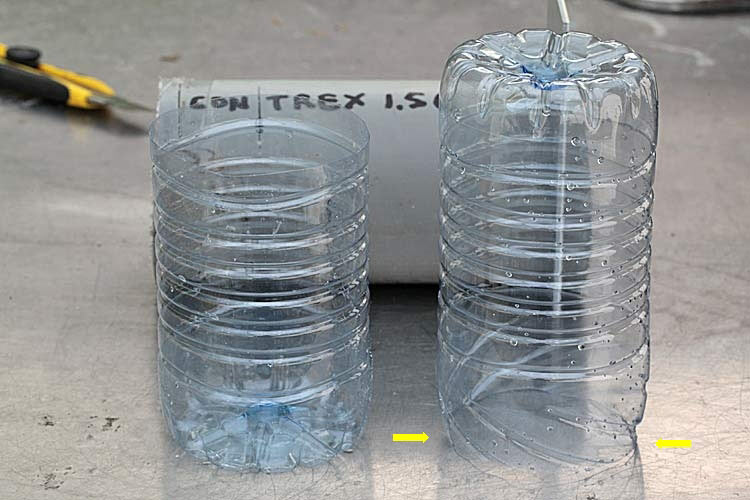
Using a second bottle, do the same thing to create the part that will become the top (right). You can use a bottle of the same brand or one from a different brand.
Note: the cut here is made where the narrowing portion of the bottle occurs.
|
The two half bottles must fit together perfectly.
The bottle portion serving as the top is capped and must fit snugly into the lower part and this will direct drops of condensation into the cutting mixture.
|
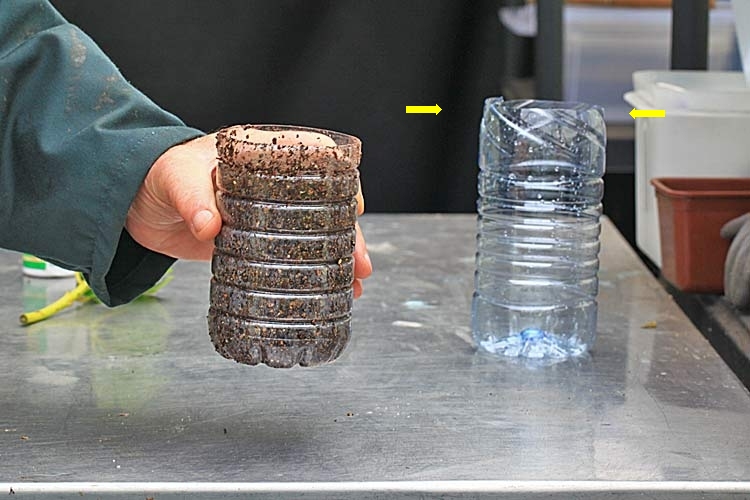
Fill the "bottom" bottle part with your propagation medium, tapping the bottle down onto the bench several times to ensure the propagation mix is settled.
Note: the narrowing part of the bottle (on the right) that allows the upper bottle portion to fit snugly inside the bottom bottle.
|
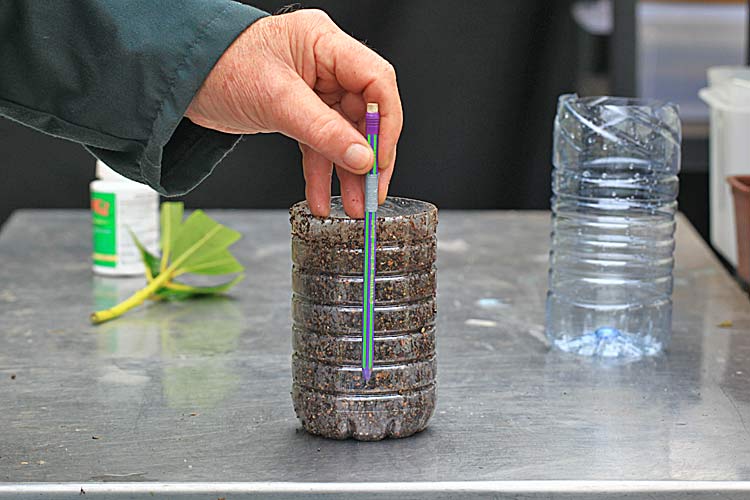
To make a depth gauge, mark a pencil with adhesive tape. This will show the depth to which the cutting will be set so that all the cuttings will be exactly the same height above the bottom heat. The cuttings must be set deeply enough to get bottom heat, but if they are set too deep, the newly forming roots won't have anywhere to grow.
|
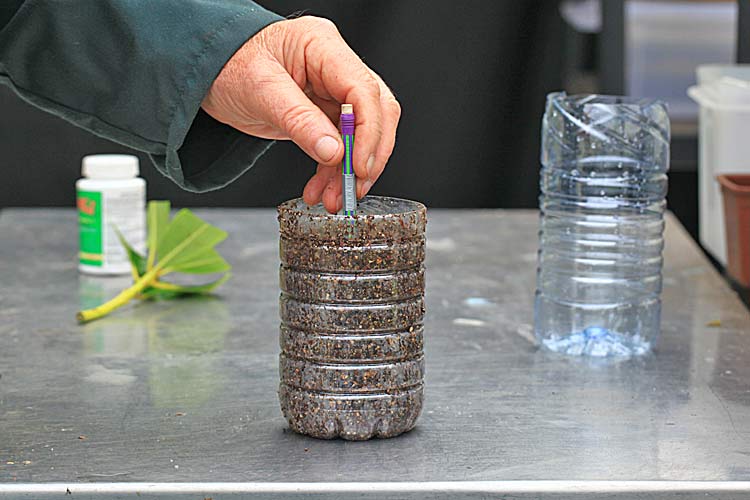
Push the pencil into the propagation media until you reach the gauge mark. This creates a well in the media.
|
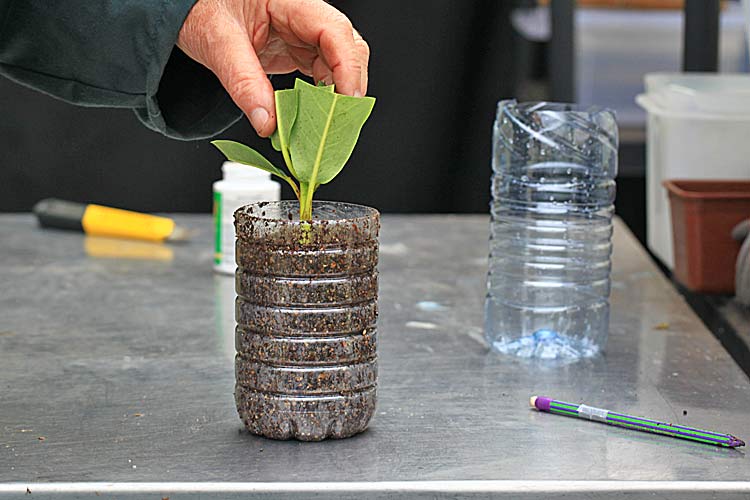
Slip the cutting into the well until you feel resistance.
|
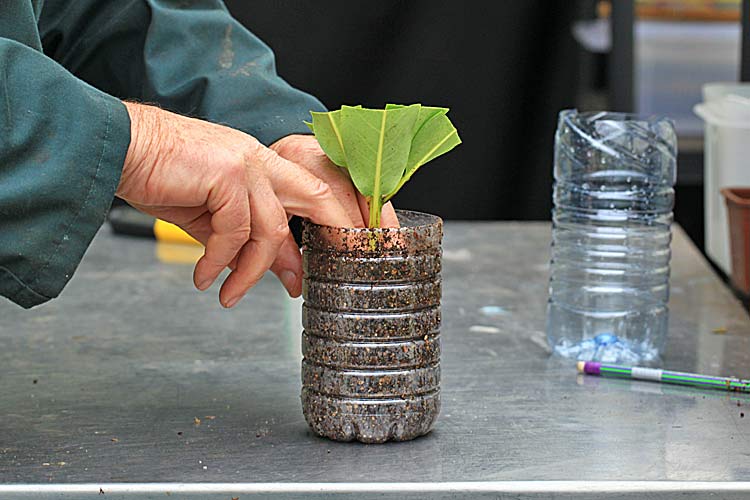
Lightly tamp the propagation media around the cutting to secure the cutting's position.
|
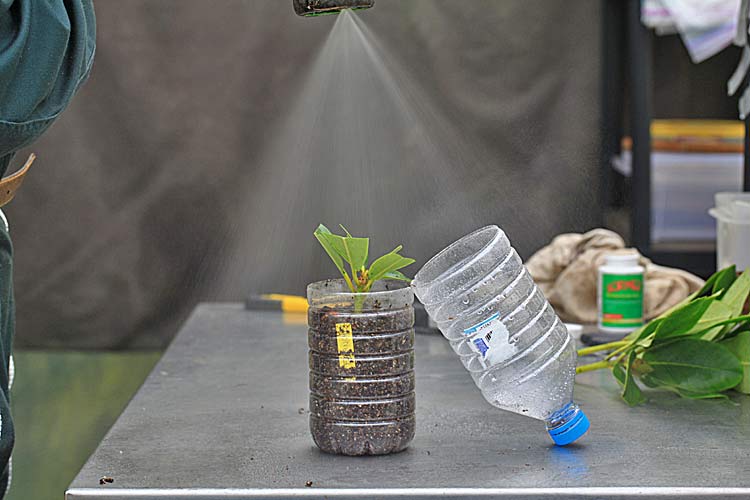
Apply a bit of mist to the leaves.
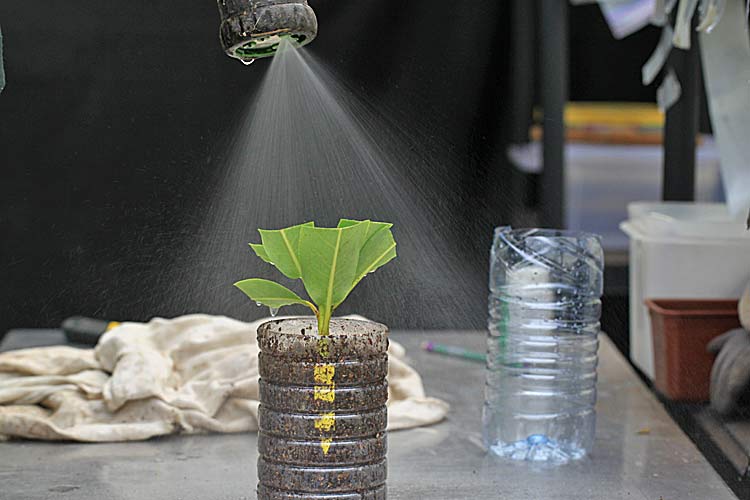
|
Insert an identification tag in the bottle and wipe down the bottle's edge.
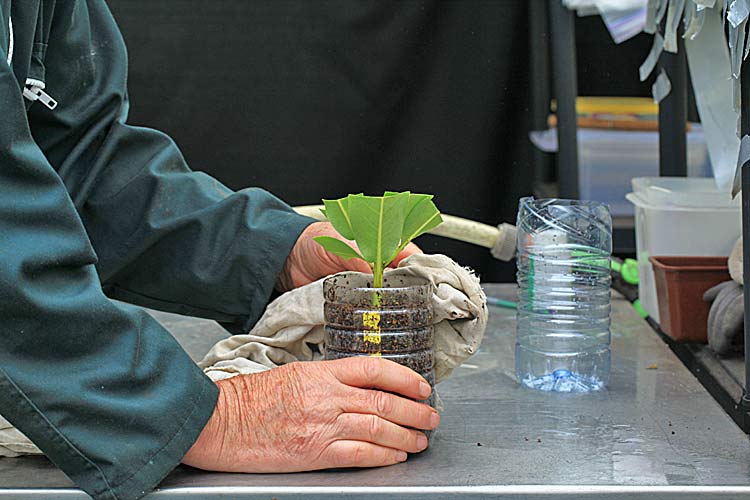
|
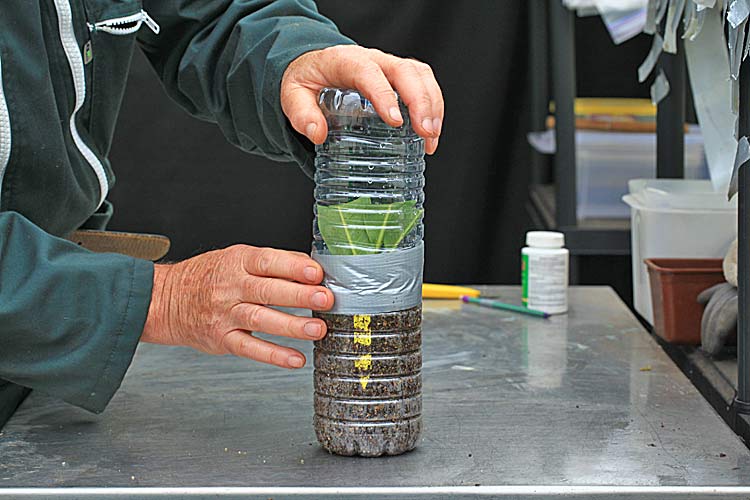
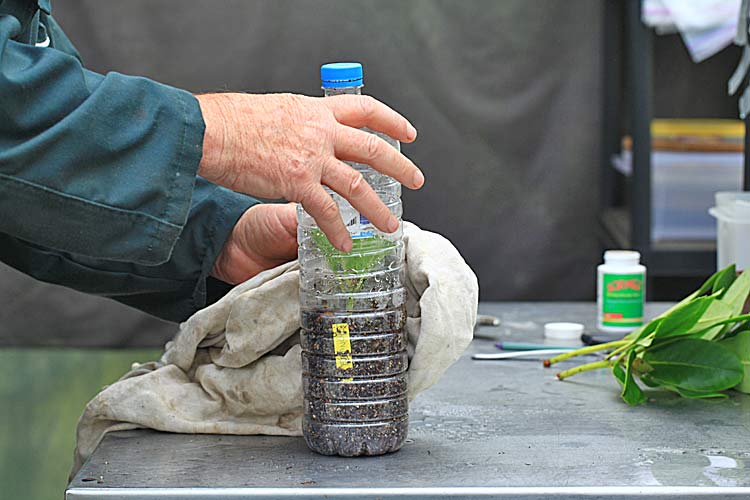
Fit on the upper part.
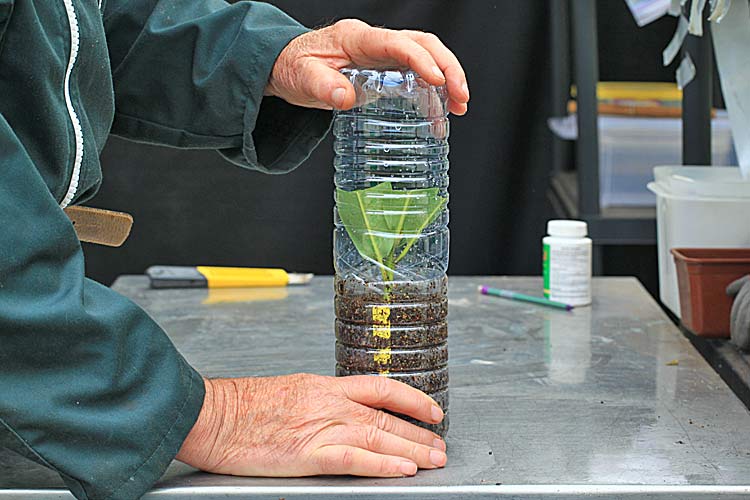
|
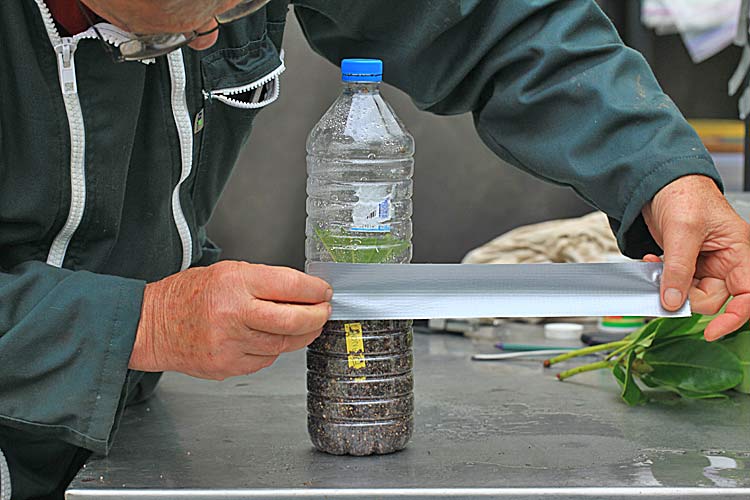
Seal the two parts with a band of adhesive tape. Duct tape works well for this.
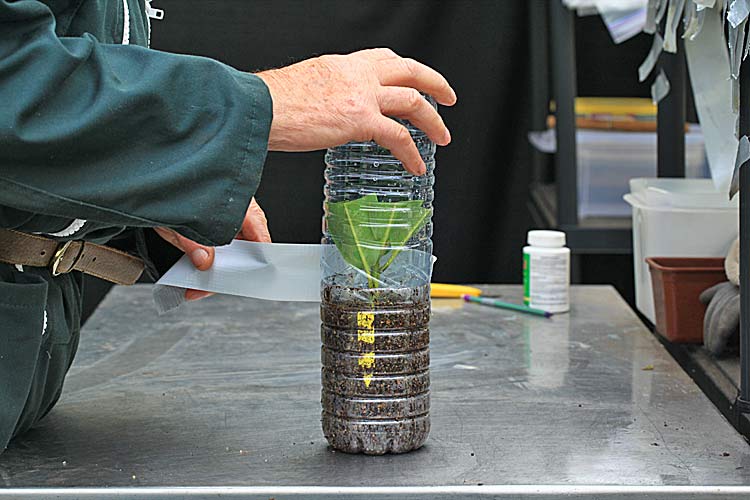
|
A single bottle can be used to create the propagation unit instead of 2 half bottles.
|
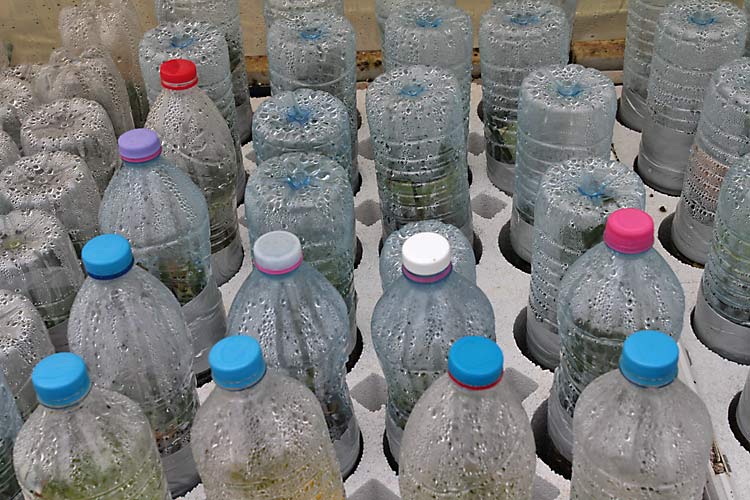
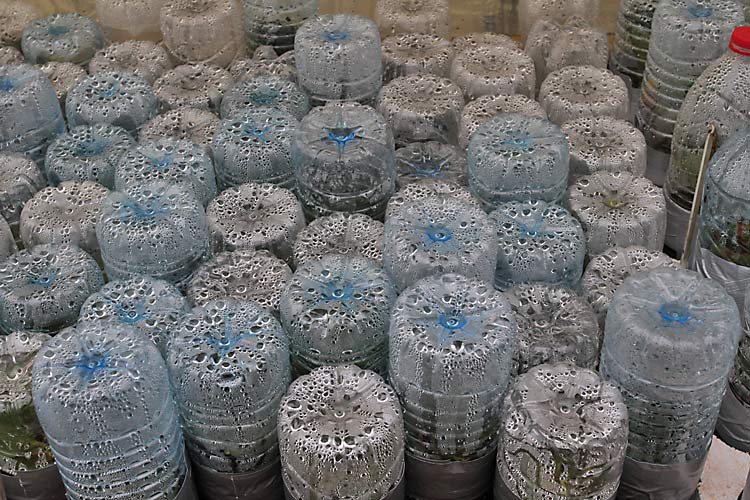
To maintain the bottles while also keeping some heat around the bottle base, you can use sections of polystyrene bottle racks.
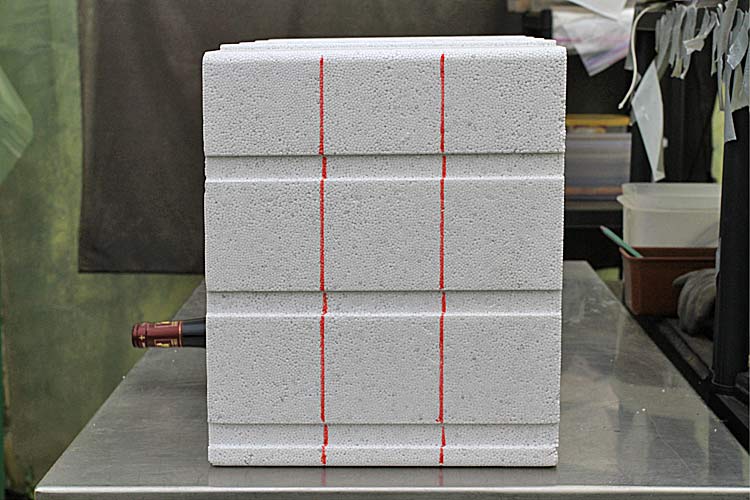
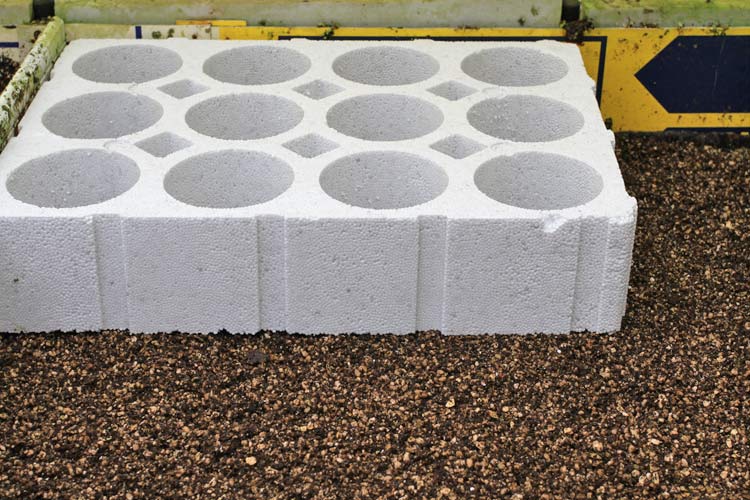
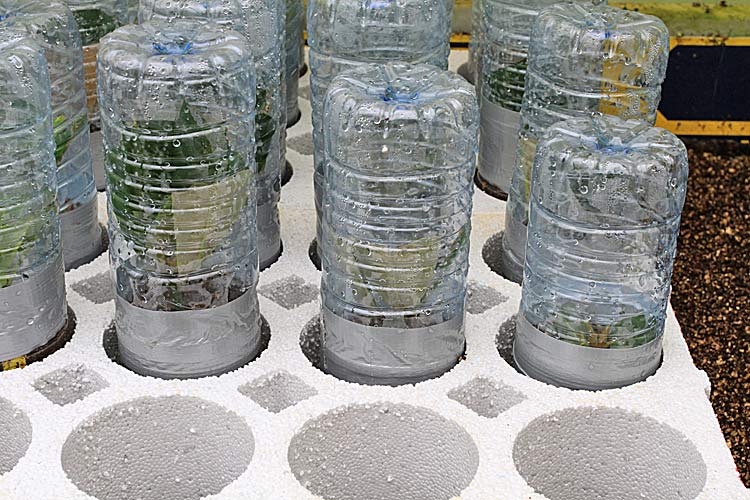
|
Overview.
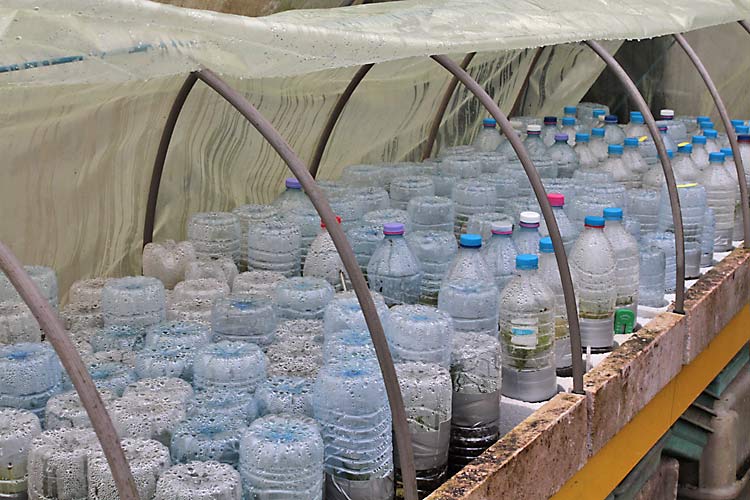
|
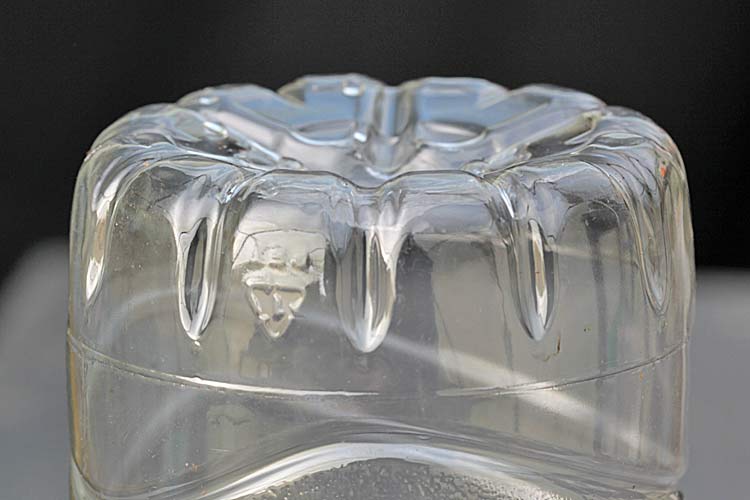
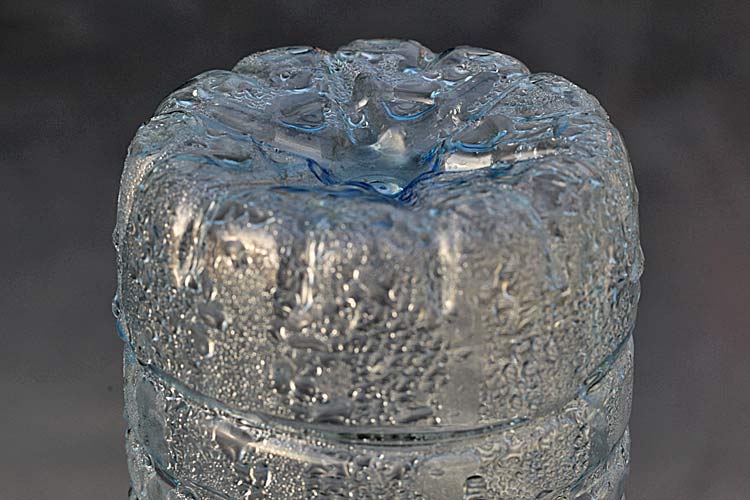
I recommend using 2 half bottles rather than one bottle cut in half. Because of the created conical shape with the 2 half bottles, water droplets from condensation will be directed towards the propagation media center where the cutting is located.
With using just one bottle cut in half, the shape of the neck tends to cause the water droplets to slide down the edges of bottle walls and water won't reach the propagation medium immediately surrounding the cutting.
|
The main drawback to using polystyrene sections is that there is a great loss of space.
|
|
|
COST : | ±10 euros for the wine rack
|
| Working time : | ± 2 minutes per cutting.
|
|
Difficulty : | None.
| | Advantages : | * No more watering and less time monitoring the cuttings.
* No more compacting the propagation media due to repeated watering.
* It's easy to check on rooting status through the clear plastic.
|
|
Photos and text Marc Colombel
Thanks to Norma Senn for her translation
|
|


